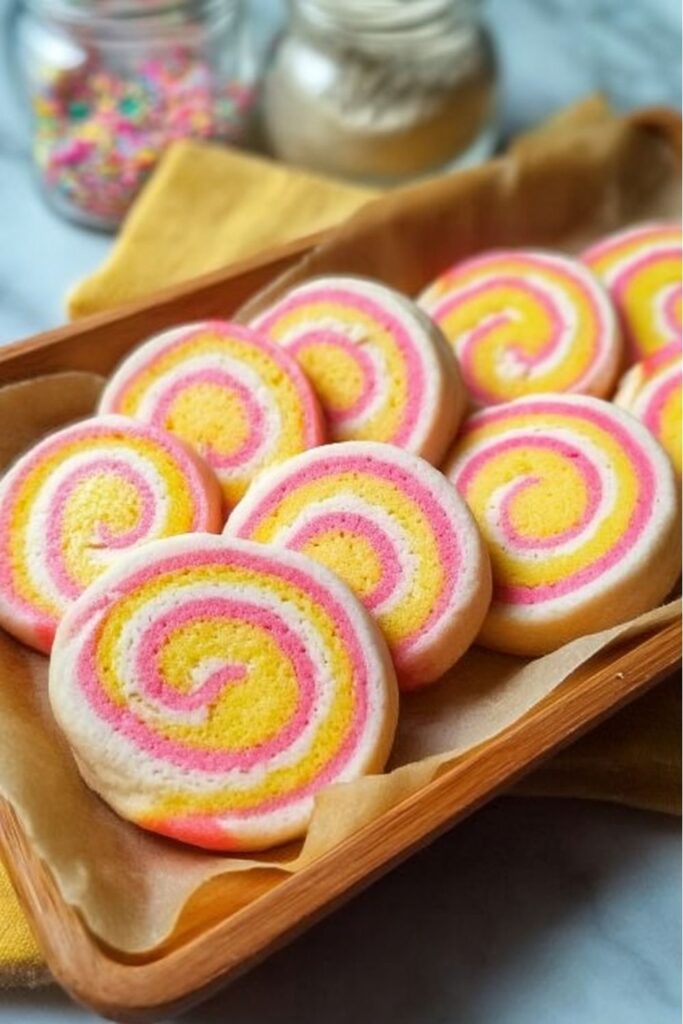
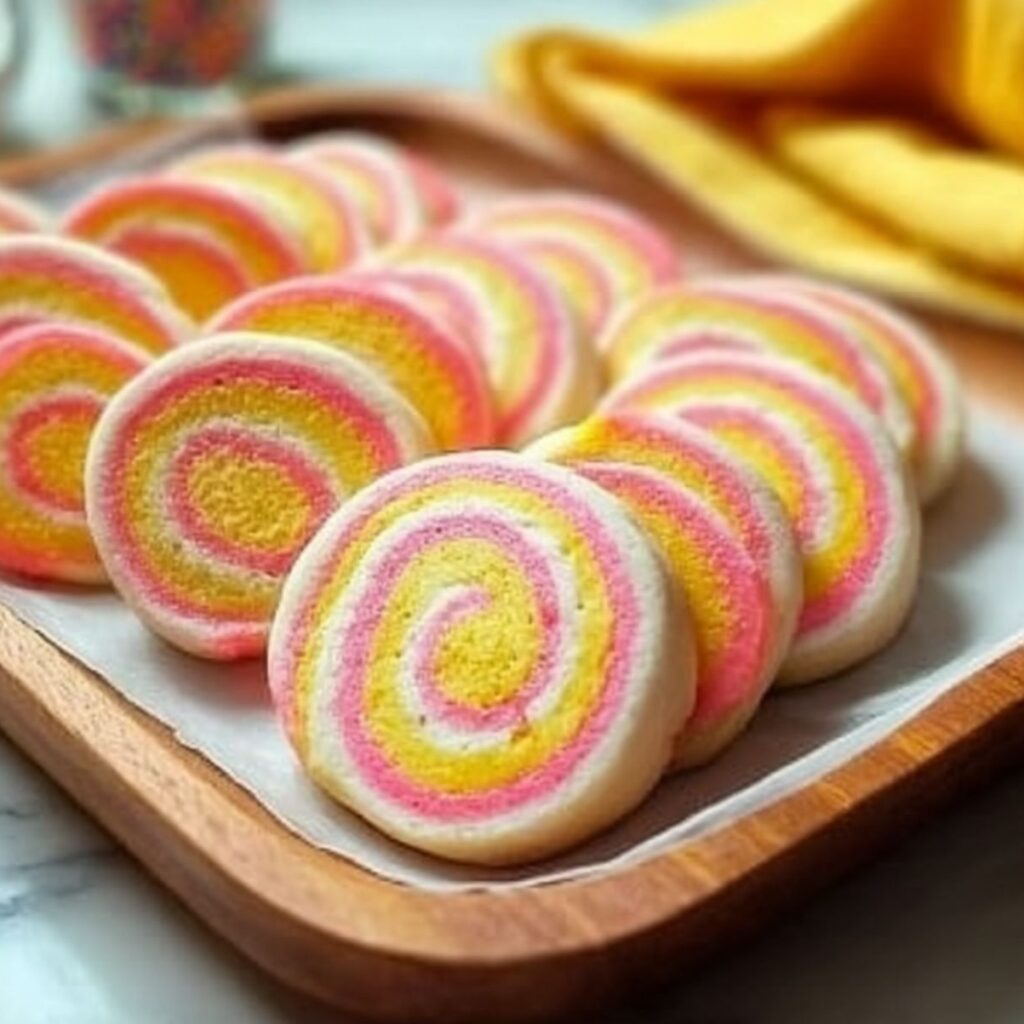
I made easter pinwheel cookies once with kids “helping,” and my kitchen looked like a craft store exploded. These pastel spiral cookies are basically spring pinwheel cookies that happen to taste like soft sugar cookies.
They look fancy, but it’s mostly rolling and pretending you’re patient. I love icebox pinwheel cookies because you can stash the log, then bake when you suddenly need easter baked goods ideas.
Yes, they’re extra. No, you don’t need a reason. With pastel pinwheel cookie design vibes and pinwheel swirl cookies energy, they’re perfect colorful easter cookie ideas for any easter cookie tray ideas moment.

Easter Pinwheel Cookies
EQUIPMENT (PAID LINKS)
- Stand mixer or large mixing bowl
- Measuring cups and measuring spoons
- Medium bowl
- Wire rack
Ingredients
- 3/4 cup unsalted butter softened
- 3/4 cup granulated sugar
- 1 large egg
- 2 teaspoons vanilla extract
- 2 cups all-purpose flour
- 1/2 teaspoon baking powder
- 1/4 teaspoon salt
- Food coloring about 1/2 teaspoon per color, plus more as needed
Instructions
- Cream Butter and Sugar: Beat the butter and sugar until light and fluffy, about 2 to 3 minutes, scraping down the bowl as needed so everything mixes evenly.3/4 cup unsalted butter, 3/4 cup granulated sugar
- Add Egg and Vanilla: Mix in the egg and vanilla extract until smooth and fully combined.1 large egg, 2 teaspoons vanilla extract
- Mix Dry Ingredients: In a medium bowl, whisk together the flour, baking powder, and salt.2 cups all-purpose flour, 1/2 teaspoon baking powder, 1/4 teaspoon salt
- Combine Wet and Dry: Add the dry ingredients to the butter mixture in two additions, mixing just until a soft dough forms. Stop as soon as it comes together so the cookies stay tender.
- Divide the Dough: Turn the dough out and divide it into three equal portions.
- Color the Dough: Add one portion back into the bowl and mix in your first food coloring until evenly dyed. Start with about 1/2 teaspoon and add more if needed. Remove, wrap, clean the bowl, and repeat with the other two portions using different colors.Food coloring
- Chill the Dough: Flatten each colored dough portion into a rectangle, wrap tightly in plastic wrap, and refrigerate for at least 1 hour, or until firm.
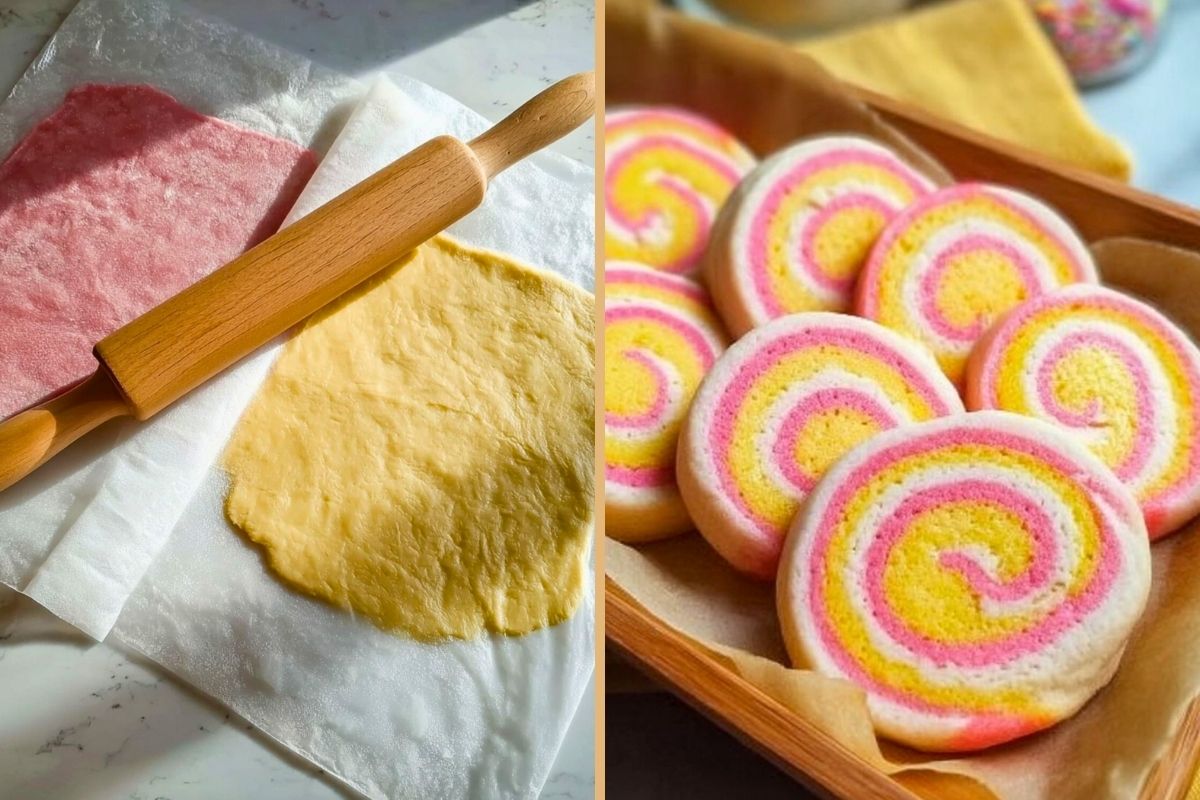
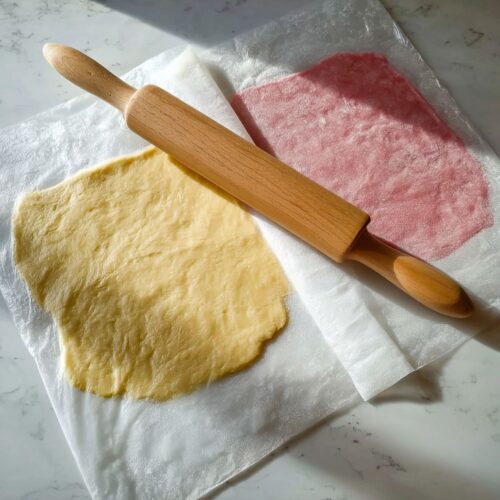
- Roll Into Sheets: Place one chilled dough rectangle between two sheets of parchment paper and roll it into a rectangle about 1/8 inch thick. Repeat with the other colors, keeping the rectangles as close in size as possible.
- Chill Again: Keep the dough sheets in the parchment paper and refrigerate for 30 minutes so they’re easier to stack and roll.
- Stack and Trim: Peel off the top parchment from the first sheet. Remove the parchment from the other two sheets and stack all three dough sheets on top of each other. Line up the edges as best you can, then trim the long sides with a sharp knife to make an even rectangle.
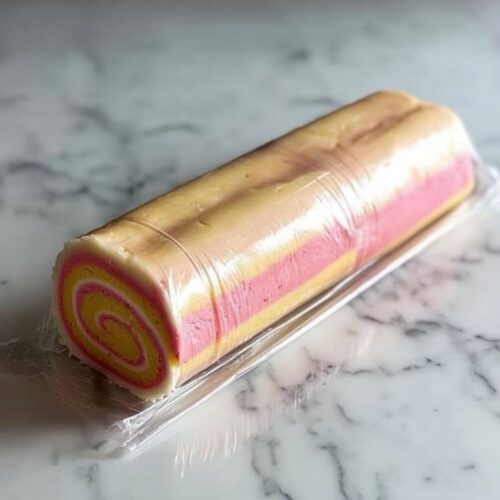
- Roll Into a Log: Starting from a long edge, roll the stacked dough tightly into a log so the pinwheel design stays neat. Wrap the log in plastic wrap and refrigerate for 1 hour.
- Preheat the Oven: Heat the oven to 350°F and line a baking sheet with parchment paper.
- Slice the Cookies: Unwrap the chilled log and slice into 1/4-inch rounds with a sharp knife. Trim off and discard the ends if the swirl looks uneven.
- Bake: Place cookies on the baking sheet with a little space between them and bake for about 9 minutes, or until the edges are lightly golden.
- Cool: Let the cookies cool on the baking sheet for 5 minutes, then transfer to a wire rack to cool completely.
Easter Pinwheel Cookies: The Spiral Flex That Looks Way Harder Than It Is
These tips are for when you want “bakery vibes” without living in your kitchen all day. Consider this the shortcut manual I wish someone handed me before I became emotionally invested in a cookie swirl.
Use gel coloring, not the watery stuff
Liquid food coloring can make the dough softer and harder to handle, which is rude. Gel color gives you bold pastels fast without messing with texture, and less fuss is the whole point of a cookie that already demands chilling like it pays rent.
Your dough should feel like Play-Doh, not lotion
If it’s super soft after mixing, don’t “just roll with it.” Chill longer, dust parchment lightly with flour if needed, and remember: warm dough smears colors. If the dough feels squishy, the pinwheels will look like they got dragged through a parking lot.
Roll between parchment and stop fighting gravity
Rolling pinwheel dough directly on the counter is how you end up adding “extra flour” until the cookies taste like regret. Keep it between parchment, and if it cracks at the edges, let it sit 2 minutes and roll again. Parchment is the therapist in this relationship.
Keep the rectangles the same size without measuring like a maniac
I’m not saying you need a ruler, but… yes, you kind of do. A quick trick is to rough-roll all three sheets, stack them briefly to compare, then roll the smaller ones a touch more. Uniform sheets = clean swirls, and clean swirls = people thinking you’re talented.
Stack, then press lightly like you’re sealing an envelope
Once you layer the sheets, give them a gentle press with your hands or the rolling pin—just enough to bond. Too much pressure squishes the colors together, and too little means the spiral can separate when you slice. You want “together,” not “smushed.”
Trim the edges, because perfection is a cookie choice
Those uneven ends will mess up the swirl, so trim them and move on. Bake the scraps separately as “tester cookies” (also known as “the cookies you eat standing over the sink”). This is not waste; this is quality control.
Roll the log tight, then tighten it again
Roll slowly and firmly, using the parchment to help lift and guide, and don’t be afraid to gently squeeze the finished log to even it out. If you see gaps, lightly roll it back and forth to smooth. A loose log makes sad, oval pinwheels—and nobody wants that energy.
Slice clean with a cold knife
If the slices squish, the log isn’t cold enough or your knife is warm. Pop the log in the freezer for 10–15 minutes, then slice with a sharp knife wiped clean between cuts. Warm knife = smeared swirl = immediate eye twitch.
Flavor swaps that don’t mess up the dough
Vanilla is great, but almond extract (use less) makes them taste like a bakery cookie tray. You can also add a little lemon or orange zest for a springy vibe without changing texture. Tiny changes, big payoff—like switching to the “good” butter and pretending it’s self-care.
Want chocolate swirls? Make one section cocoa
Turn one dough portion into chocolate by mixing in a little unsweetened cocoa powder (and a tiny splash of milk only if it gets dry). Keep the other two portions vanilla for contrast. Chocolate + pastel is dramatic in a way I fully support.
Make-ahead and freezer wins
This dough loves being made ahead. Wrap the log tightly and refrigerate overnight, or freeze the whole log for later—just thaw in the fridge before slicing. You can also freeze pre-sliced rounds and bake from frozen with a minute or two extra. Future-you deserves cookies with zero effort.
Storage so they stay actually soft
Once fully cooled, store in an airtight container at room temp for about a week, and add a slice of bread if your house is dry. For longer storage, freeze baked cookies in a freezer bag and thaw at room temp. If they get a little firm, a few seconds near warmth brings them back—like magic, but edible.