I made these after realizing flowers wilt, but snacks disappear. Cake fixes everything on emotional holidays. These fit right in with Mother’s Day treats and Mother’s Day baking ideas.
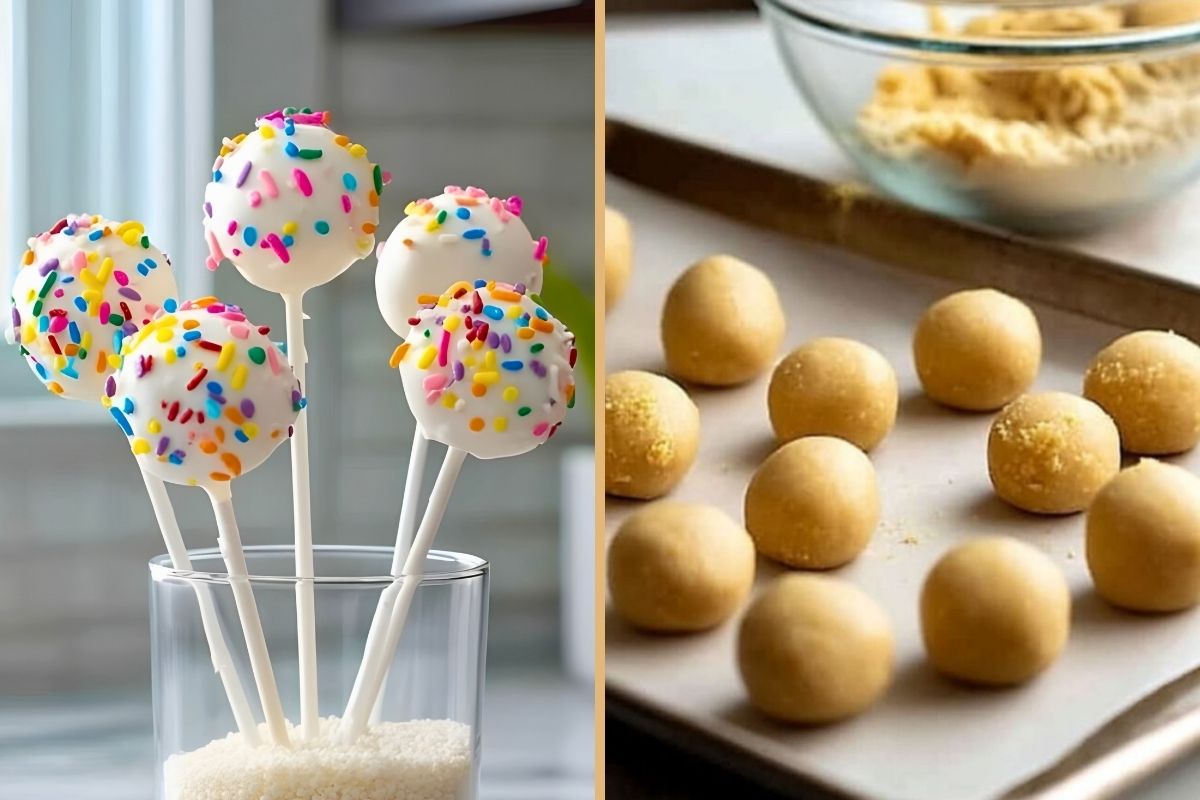
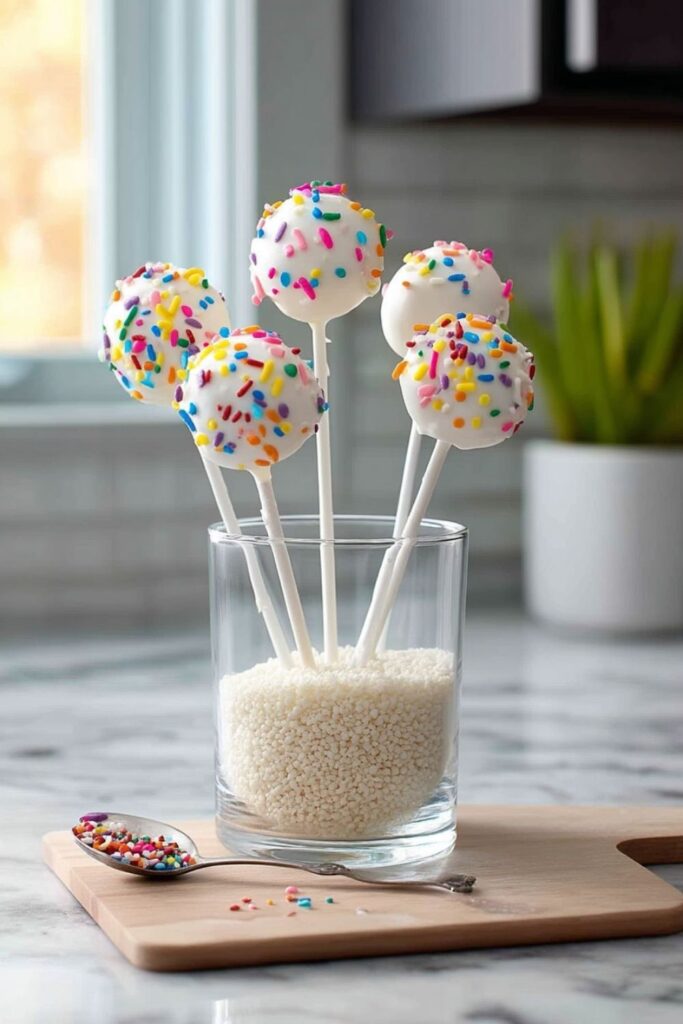
The first time I set them out, they vanished before brunch. That was all the feedback I needed. Think decorated cake pops with playful cake pop designs and springtime cake pop vibes.
They double as dessert and a gift. Pretty food counts as effort, trust me. Perfect as a dessert for Mother’s Day, on a dessert table, or as chocolate-covered treats in cake pop packaging ideas gift boxes.

Mother’s Day Cake Pops
EQUIPMENT (PAID LINKS)
- 9×13-inch baking pan
- Cookie scoop
- Microwave-safe cup
- Lollipop sticks
- Cake pop stand or a cup filled with rice
Ingredients
- 1 box vanilla cake mix 15.25 ounces
- 1 cup water
- ½ cup vegetable oil
- 3 large eggs
- 1 cup vanilla frosting
- 12 ounces candy melts or chocolate melting wafers
- Sprinkles
Instructions
- Bake the Cake: Preheat the oven to 350°F and grease a 9×13-inch baking pan. In a large bowl, whisk together the cake mix, water, oil, and eggs until smooth. Pour the batter into the pan and bake according to the package directions. Let the cake cool completely so the frosting won’t melt later.1 box vanilla cake mix, 1 cup water, ½ cup vegetable oil, 3 large eggs
- Crumble the Cake: Break the cooled cake into very fine crumbs in a large bowl. The finer the crumbs, the smoother and sturdier your cake pops will be.
- Mix with Frosting: Add the frosting to the cake crumbs and stir until the mixture looks like wet sand and holds together when pressed. It should be moist but not sticky or pasty.1 cup vanilla frosting
- Shape the Cake Balls: Scoop about 1 tablespoon of the mixture and roll it into a 1-inch ball using your hands. Place the balls on a parchment-lined baking sheet.
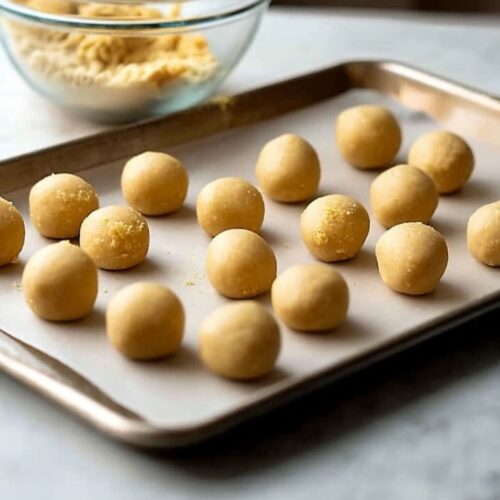
- Chill the Cake Balls: Refrigerate the cake balls for at least 4 hours or freeze them for 30 minutes so they firm up and are easier to dip without falling apart.
- Melt the Coating: Melt the candy melts or chocolate wafers according to the package instructions until smooth. Pour the melted coating into a deep microwave-safe cup. If the coating feels too thick, stir in ½ teaspoon vegetable oil at a time until smooth.12 ounces candy melts or chocolate melting wafers
- Insert the Sticks: Dip the tip of each lollipop stick into the melted coating, then push it halfway into a cake ball. This helps secure the stick as the coating sets.
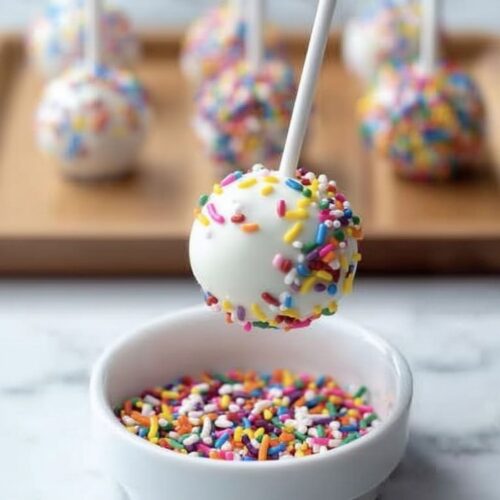
- Dip and Decorate: Dip each cake ball into the melted coating, making sure the base around the stick is fully covered. Gently tap off excess coating, then add sprinkles right away before it hardens.Sprinkles
- Let Them Set: Place the cake pops upright in a cake pop stand, foam block, or a cup filled with rice. Let them sit until the coating is fully set, about 30 to 60 minutes.
Mother’s Day Cake Pops: Everything That Goes Wrong (and How to Avoid It)
If you’ve ever had a cake pop slide off the stick and ruin your mood, this section is for you. These are the things you only learn after making them way too many times.
Don’t rush the cooling (future you will thank you)
If the cake is even a little warm, the frosting turns greasy, and everything goes downhill fast. Warm cake lies—it feels fine until it betrays you. I usually bake the cake the night before and deal with it fresh the next day like a calm, evolved human.
The frosting amount is not a suggestion
One cup is the sweet spot. More frosting does not mean better cake pops—it means mushy sadness. If it looks like cookie dough, you’ve gone too far. You want a texture that holds when pressed but still looks crumbly.
Smaller crumbs = smoother pops
Big chunks lead to lumpy cake pops and mysterious cracks later. I break the cake down like I’m mad at it. If you’re short on patience, a quick pulse in a food processor works, just don’t turn it into paste.
Chill smart, not forever
Cold cake balls are easier to dip, but frozen-solid ones crack the coating. Cold is helpful; rock-solid is chaos. If you froze them, let them sit out for 10 minutes so the temperature doesn’t shock the coating.
Thin coating beats thick drama
If your candy melts feel like cement, add a tiny splash of vegetable oil. Smooth dipping is the difference between “homemade” and “Pinterest fail.” Add it slowly—once it’s too thin, there’s no going back.

Always dip the stick first
This step looks optional until it’s not. That tiny dip of coating is basically glue. Skip it, and your cake pop will slide off at the worst possible moment, usually in front of witnesses.
Sprinkles wait for no one
Decorate immediately after dipping because the coating sets fast. This is not the time to answer texts. I line everything up first so I can decorate at full speed like a game show challenge.
Storage without heartbreak
Once set, store cake pops in an airtight container in the fridge for up to a week. They also freeze surprisingly well, which feels illegal but works. Let them come to room temperature before serving so the texture stays soft.
When in doubt, make them look intentional
A drizzle, extra sprinkles, or even a little packaging make everything feel fancy. The presentation covers a lot of sins. No one needs to know the first batch didn’t make it.