
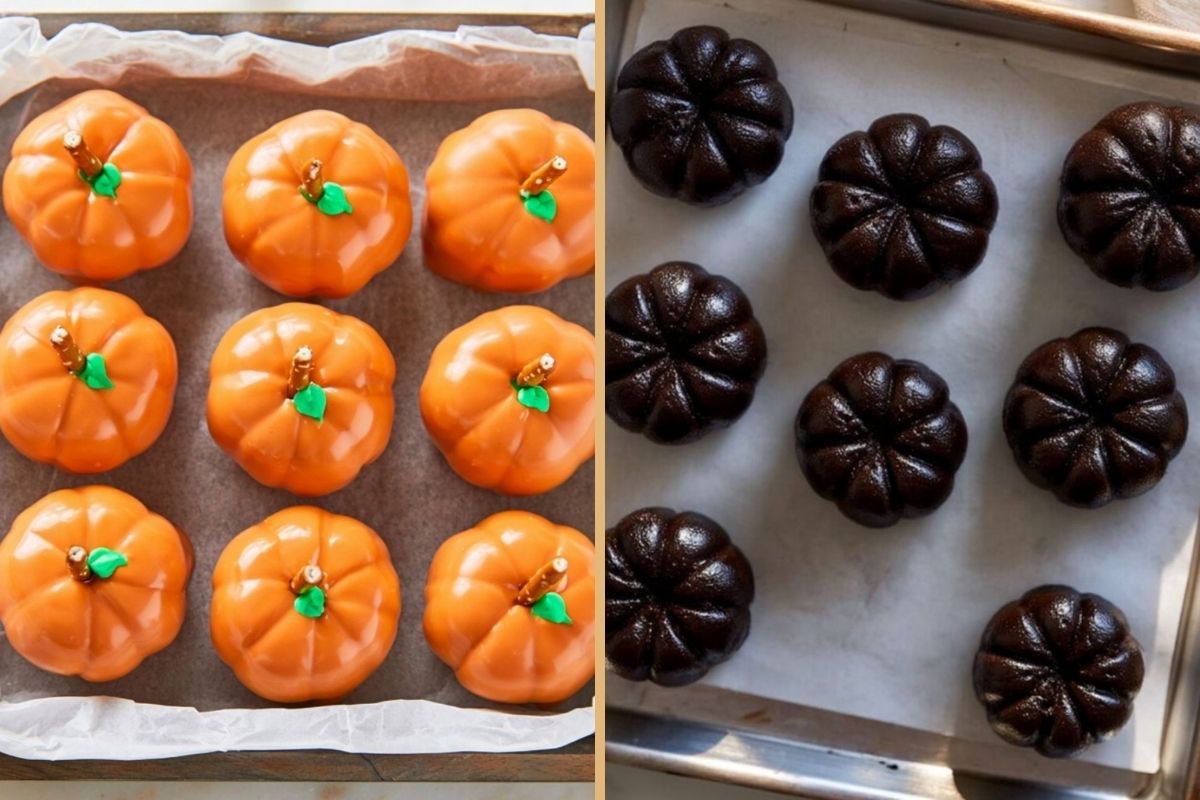
These Oreo truffles are one of those looks-fancy, barely-tried desserts. I made them once for a fall party, and the tray vanished first.
They belong with easy no-bake desserts and cute fall desserts, because a pretzel stem can turn cookie crumbs into party-level magic.
I now make them with Thanksgiving treats, since my family asks every year. No oven, no drama—just chill, dip, and pretend it was hard.
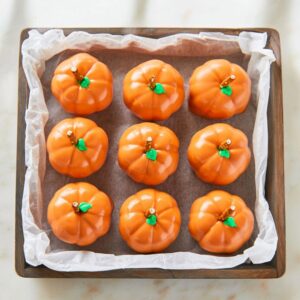
Pumpkin Oreo Balls
EQUIPMENT (PAID LINKS)
- Food processor
- Tablespoon-size cookie scoop
- Toothpicks
- Microwave-safe bowl
- Fork or candy-dipping tool
Ingredients
- 36 regular Oreo cookies not Double Stuf
- 8 ounces full-fat brick-style cream cheese softened
- 12 ounces orange candy melts
- 24 small pretzel-stick pieces
- 24 green candy leaves or green M&M’s
Instructions
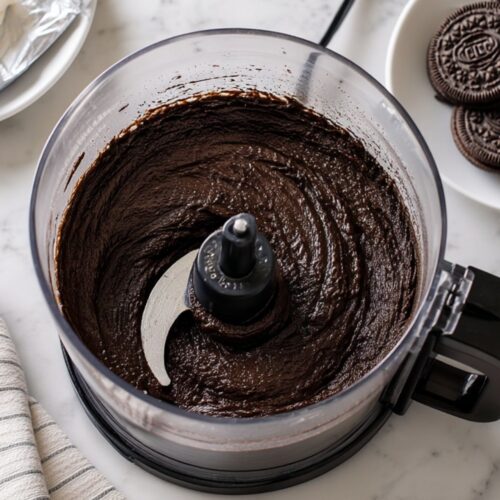
- Crush the Oreos: Place the Oreo cookies in a food processor and pulse until they form very fine crumbs with no large cookie pieces remaining.36 regular Oreo cookies
- Mix the Filling: Add the softened cream cheese to the Oreo crumbs. Process or stir until the mixture is smooth, thick, and evenly combined with no visible streaks of cream cheese.8 ounces full-fat brick-style cream cheese
- Shape the Balls: Use a tablespoon-size cookie scoop to divide the mixture into 24 portions. Roll each portion between your hands to form a smooth 1-inch ball.
- Chill the Balls: Arrange the Oreo balls on a baking sheet lined with parchment paper. Refrigerate them for 15 minutes so they become firm enough to shape.
- Make the Pumpkin Grooves: Use a toothpick to gently press several shallow vertical grooves around each Oreo ball. Do not cut too deeply, or the balls may crack while being dipped.
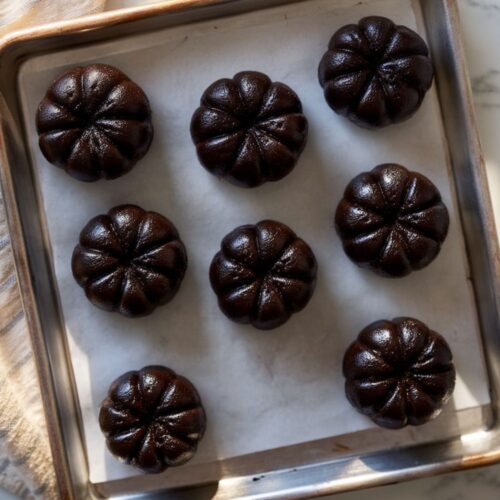
- Chill Again: Return the shaped Oreo balls to the refrigerator for another 10 minutes. Keeping them cold will help them hold their shape in the warm candy coating.
- Melt the Candy Coating: Place the orange candy melts in a deep microwave-safe bowl. Microwave according to the package directions, stirring frequently, until completely melted and smooth.12 ounces orange candy melts
- Dip the Oreo Balls: Place one chilled Oreo ball at a time into the melted candy coating. Lift it out with a fork or dipping tool and gently tap off the excess coating.
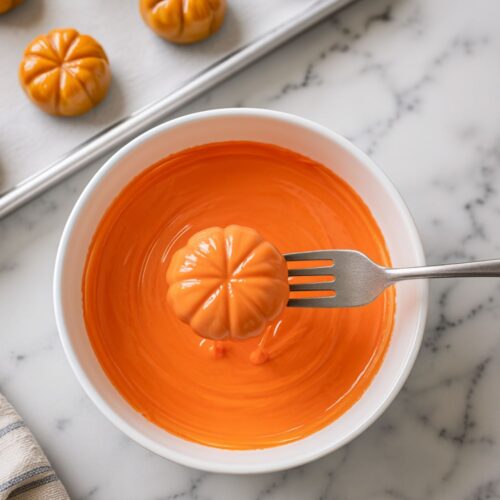
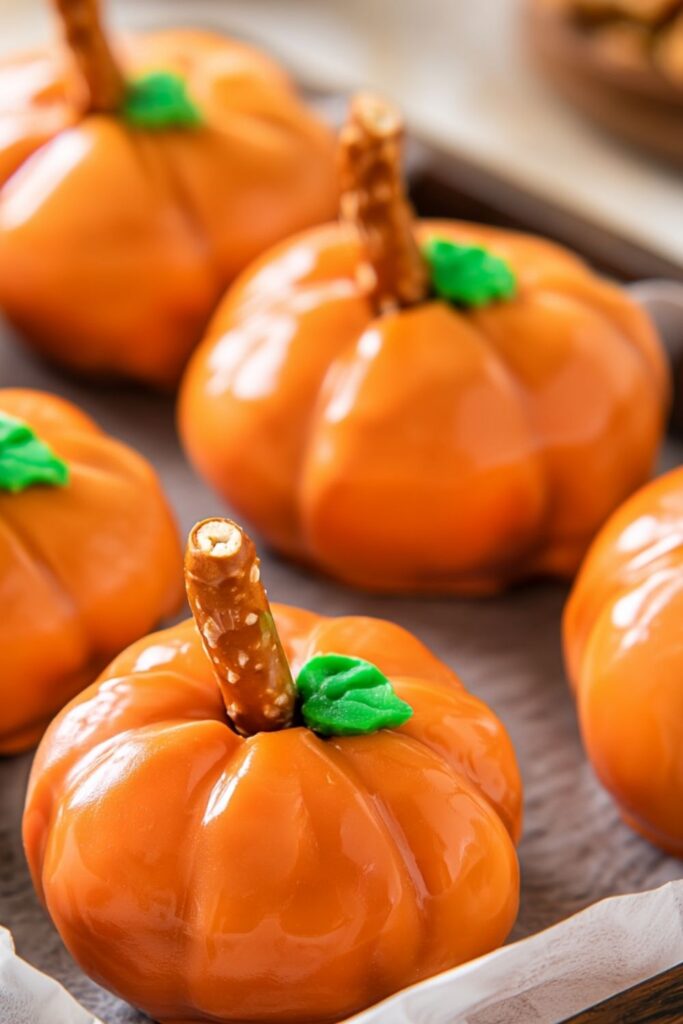
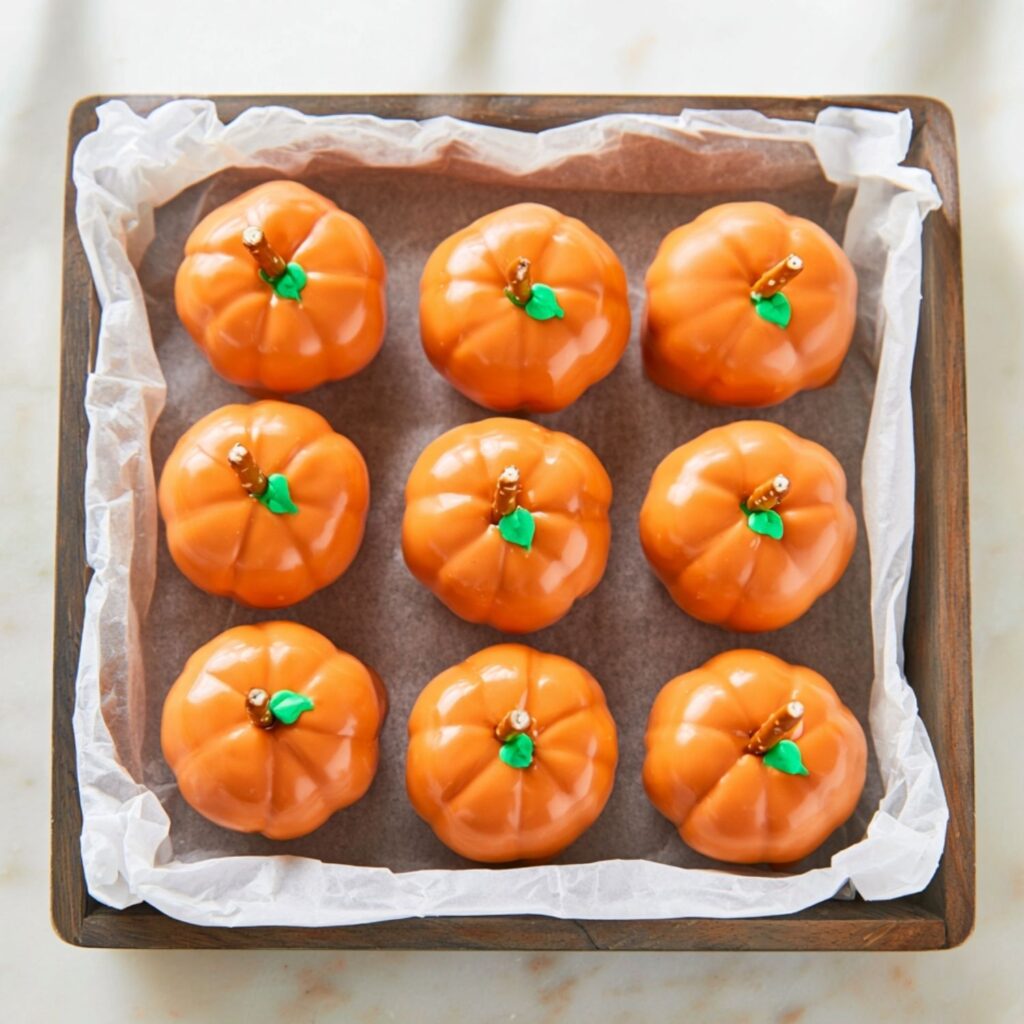
- Decorate the Pumpkins: Place each dipped Oreo ball back on the lined baking sheet. Immediately add a small pretzel piece for the stem and a green candy leaf or green M&M before the coating begins to harden.24 small pretzel-stick pieces, 24 green candy leaves or green M&M’s
- Chill and Serve: Refrigerate the finished Pumpkin Oreo Balls until the candy coating is firm. Keep them refrigerated until ready to serve, and do not leave them at room temperature for more than 1 hour
Pumpkin Oreo Balls Without the Tiny Dessert Meltdown
These are easy, but candy coating has a talent for creating unnecessary drama. A few lazy shortcuts keep the pumpkins cute and your kitchen relatively civilized.
Use the Right Oreos
Stick with regular Oreos instead of Double Stuf. The extra filling sounds generous, but it can make the mixture too soft and sticky. More filling is not always more helpful—sometimes it is just more mess.
Choose Brick-Style Cream Cheese
Full-fat cream cheese from a brick gives the Oreo mixture the firmest texture. Avoid whipped cream cheese or the soft kind sold in tubs, unless you enjoy chasing collapsing pumpkins around a baking sheet.
Crush the Cookies Completely
Fine crumbs create smooth, easy-to-roll centers. Large cookie chunks may taste fine, but they can cause cracks and awkward lumps. This is one of the rare moments when texture perfection is actually worth the extra ten seconds.
Chill Before You Get Creative
Do not skip either chilling period. Cold Oreo balls are easier to shape and much less likely to fall apart in the warm candy coating. When my kitchen is warm, I chill them a little longer because refrigeration is cheaper than starting over.
Make Shallow Pumpkin Grooves
Press the toothpick lightly into the surface instead of cutting deep lines. Deep grooves can split the balls or disappear under the coating anyway. You are making pumpkins, not carving drainage ditches.
Keep the Candy Coating Fluid
Use a narrow, deep bowl so you can dip each ball without needing a swimming pool of candy melts. If the coating starts getting thick, microwave it for a few seconds and stir. Do not add water unless you want the entire bowl to seize up out of spite.
Swap the Decorations
Green candy leaves look polished, but green M&M’s, small pieces of green candy, or a quick dot of green icing work just as well. Thin pretzel sticks make the best stems, though broken pretzel twists will survive the job in an emergency.
Work One Pumpkin at a Time
Dip, drain, place, and decorate each ball before moving to the next. Candy melts harden quickly, and trying to add stems after dipping the whole batch is how you end up angrily drilling holes into dessert.
Make Them Ahead
Pumpkin Oreo Balls can be prepared a day or two before serving and stored in an airtight container in the refrigerator. Separate layers with parchment paper so the decorations stay intact and the pumpkins do not form one large, festive brick.
Freeze Them Carefully
Freeze the undecorated Oreo centers for up to two months, then thaw them overnight in the refrigerator before coating. Finished balls can also be frozen, but condensation may leave marks on the coating. They will still taste great, even if a few pumpkins lose their social-media glow.
Keep Them Cold
Because the filling contains cream cheese, store the finished Oreo balls in the refrigerator and avoid leaving them out for more than an hour. Serve a smaller tray and refill it as needed—an impressively responsible move disguised as laziness.