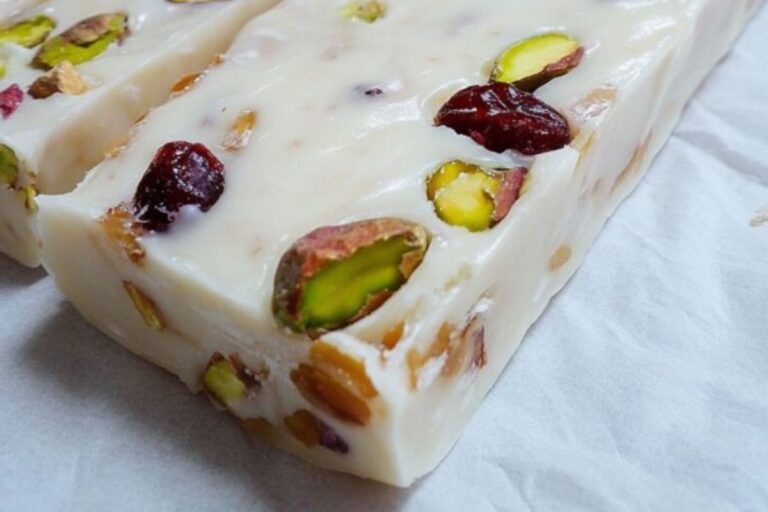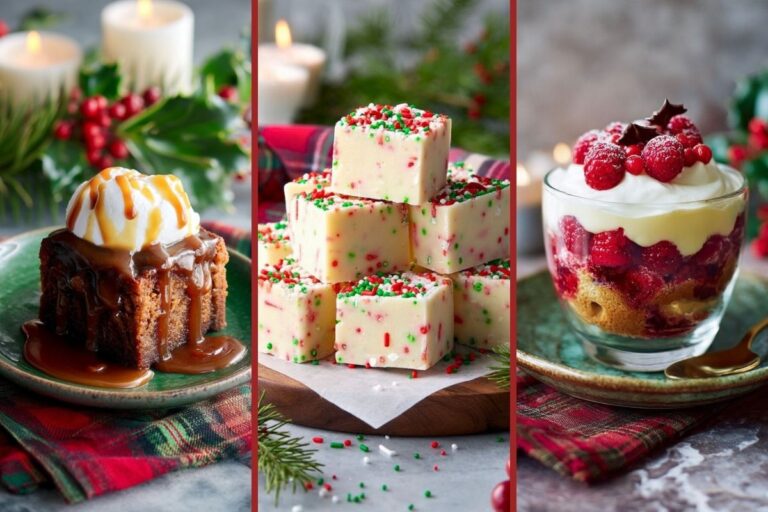
Every family has that one “must-have” Christmas cookie that officially kicks off the holiday season — and for us, it’s always these homemade Christmas cookies.
They’re buttery, soft, and so good you’ll start questioning why you ever bothered with store-bought dough. This Christmas sugar cookie recipe is simple, reliable, and guaranteed to survive even the most chaotic decorating parties.
I’ve been making these homemade sugar cookies since my college days, back when my “kitchen tools” were a single mixing bowl and a plastic spoon.
Somehow, the cookies still turned out amazing — though my early attempts at snowflake shapes looked more like abstract art. The best part? No chilling required, so you can go from mixing to munching faster than you can find your rolling pin.
If you’ve been searching for the best sugar cookie recipe to impress Santa (or just your in-laws), you’ve officially found it. These rolled sugar cookies hold their shape perfectly and are a blank canvas for frosting, sprinkles, or your kids’ wildest creative choices.
So grab your apron, crank up the holiday playlist, and let’s talk about how to make festive sugar cookies that taste like Christmas magic — without the drama.

Homemade Christmas Cookies
EQUIPMENT (PAID LINKS)
- Stand mixer or hand mixer
- Cookie cutters
- Parchment paper or silicone baking mat
- Wire cooling rack
Ingredients
- 1 cup 8 oz unsalted butter, softened to room temperature
- 1 cup granulated sugar
- 1 large egg
- 1 teaspoon vanilla extract
- 3 cups all-purpose flour spoon into cup and level — about 360 g if you weigh
- 2 teaspoons aluminum-free baking powder
- 1/4 teaspoon salt
- Optional: 1 tablespoon cornstarch for extra tender cookies
- Optional: 1/4 teaspoon almond extract for extra flavor
- Optional decorating: store-bought icing or simple 3-ingredient cookie icing and sprinkles
Instructions
- Preheat Oven: Preheat the oven to 350°F and place a rack in the center. Line a baking sheet with parchment paper or a silicone mat so cookies don’t stick.
- Mix Dry Ingredients: In a small bowl, whisk together the 3 cups flour, 2 teaspoons baking powder, and 1/4 teaspoon salt. If you’re using cornstarch, add it here. Whisking helps the leavening mix evenly.3 cups all-purpose flour, 2 teaspoons aluminum-free baking powder, 1/4 teaspoon salt, Optional: 1 tablespoon cornstarch
- Cream Butter and Sugar: In a large bowl, beat the 1 cup softened butter with 1 cup granulated sugar using a stand mixer or hand mixer until light and creamy, about 2–3 minutes.1 cup 8 oz unsalted butter, softened to room temperature, 1 cup granulated sugar
- Add Egg and Flavor: Add the large egg and 1 teaspoon vanilla extract (and 1/4 teaspoon almond extract if using). Beat until fully combined and smooth.1 large egg, 1 teaspoon vanilla extract, Optional: 1/4 teaspoon almond extract
- Add Dry Ingredients: Add the dry flour mixture to the butter mixture in three parts, mixing briefly after each addition until the dough just comes together. Stop as soon as you have a smooth, slightly tacky dough — don’t overmix.
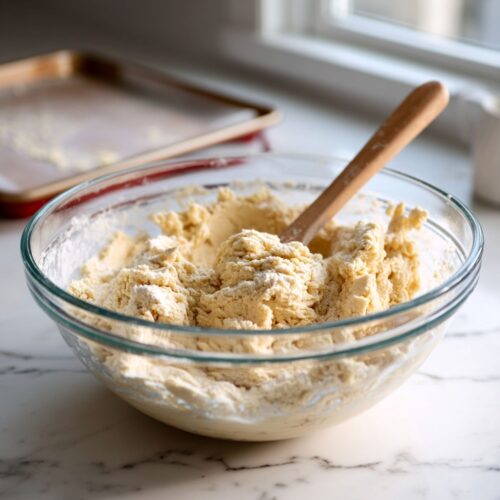
- Chill Dough (Optional): If the dough feels soft or sticky, wrap it and chill in the refrigerator for 15–30 minutes. Chilling makes the dough easier to roll and helps cookies keep sharp edges while baking.
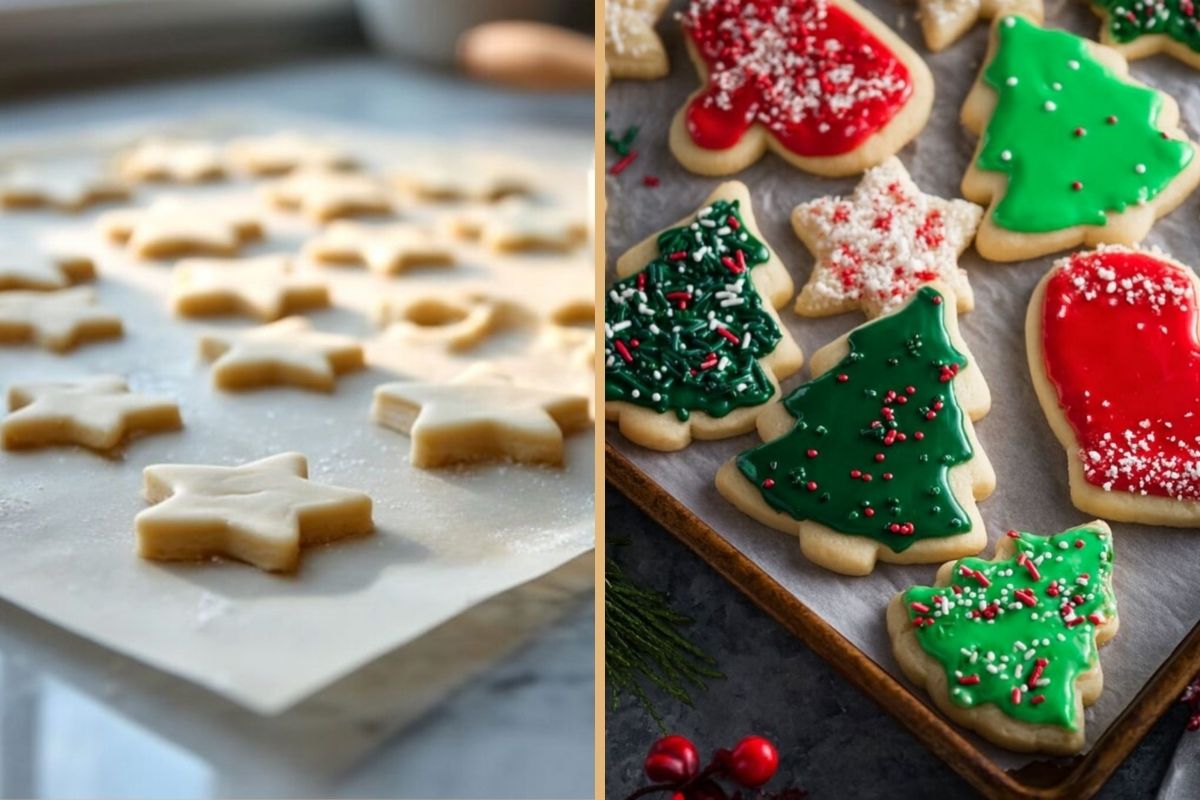
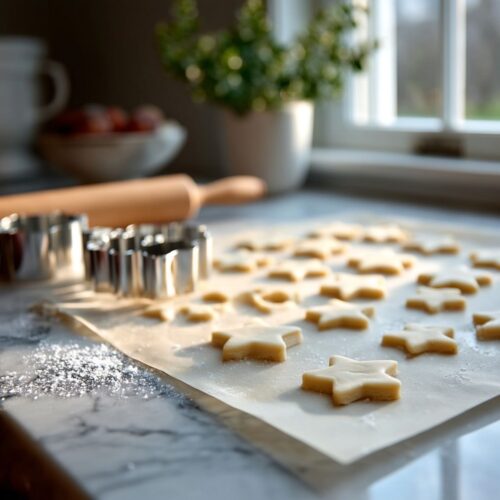
- Divide and Roll: Divide the dough into two equal pieces. Lightly flour your work surface (or roll the dough between two sheets of parchment). Roll each piece to about 1/4-inch thickness for best results.
- Cut Shapes: Use cookie cutters to cut shapes. Gently lift or slide the shapes onto the prepared baking sheet, spacing cookies about 1 inch apart so they don’t touch.
- Bake: Bake in the preheated 350°F oven for about 10 minutes for 2–3 inch cookies at 1/4-inch thickness, or until the cookie edges just begin to turn golden. Larger or thinner cookies may need 1–3 minutes more. Remove when edges are just starting to color.
- Cool: Let the cookies cool on the baking sheet for about 4–5 minutes so they firm up, then transfer them to a wire rack to cool completely before decorating.
- Decorate: Once fully cool, decorate with your chosen icing and sprinkles. Let icing set before stacking to avoid smudging.Optional decorating: store-bought icing or simple 3-ingredient cookie icing and sprinkles
The Slightly Chaotic but Totally Worth-It Guide to Homemade Christmas Cookies

Soften Your Butter, Don’t Melt It
Here’s the deal — cold butter won’t cream, and melted butter turns your dough into an oily mess that spreads like gossip at a family reunion. The sweet spot? Butter that’s soft enough to press a finger into but still cool to the touch. If you forgot to take it out ahead of time (because same), just cube it and let it sit on the counter for 15 minutes — or cheat with 10-second microwave bursts, flipping the cubes often.
Measure Like You Mean It
I know, I know — measuring flour sounds about as exciting as folding laundry. But trust me, it’s what separates fluffy perfection from sad, dry cookies. Spoon the flour into your cup and level it off gently. Scooping straight from the bag packs in way more flour than you want — and suddenly your cookies are more “edible coasters” than “holiday joy.”
Aluminum-Free Baking Powder: Your Secret Weapon
This one’s not glamorous, but it matters. Regular baking powder can leave a weird metallic tang that ruins the buttery magic. Grab the aluminum-free kind, and your cookies will taste like sugar and love instead of a ninth-grade science project.
Skip the Chill (or Don’t, I’m Not Your Boss)
This dough doesn’t technically need chilling, which is great news for impatient bakers like me. But if your kitchen feels like a sauna or your dough starts acting sticky, give it a 20-minute nap in the fridge. It’s like a time-out for misbehaving dough — and the reward is cleaner edges and less cursing while you cut shapes.

Decorating: The Fine Line Between Festive and Chaos
Here’s my golden rule: the messier the cookie, the more “homemade charm” it has. Go wild with sprinkles, colored icing, or crushed candy canes — just make sure to let the frosting dry before stacking, unless you’re into cookie fusion art. Remember, perfect cookies are boring. Lopsided snowmen and mutant stars are where the memories happen.
Storage Secrets You’ll Thank Me For Later
Once baked, stash your masterpieces in an airtight container on the counter for up to a week. If you’ve decorated them, let the icing harden first or they’ll glue themselves together in a sugary hug. And yes, you can freeze both the dough and the baked cookies — because sometimes “future you” deserves a surprise batch of happiness.