Every year, I swear I’ll keep Mother’s Day sweets simple, then I spiral into Mother’s Day baked goods mode. I clearly have no self-control.
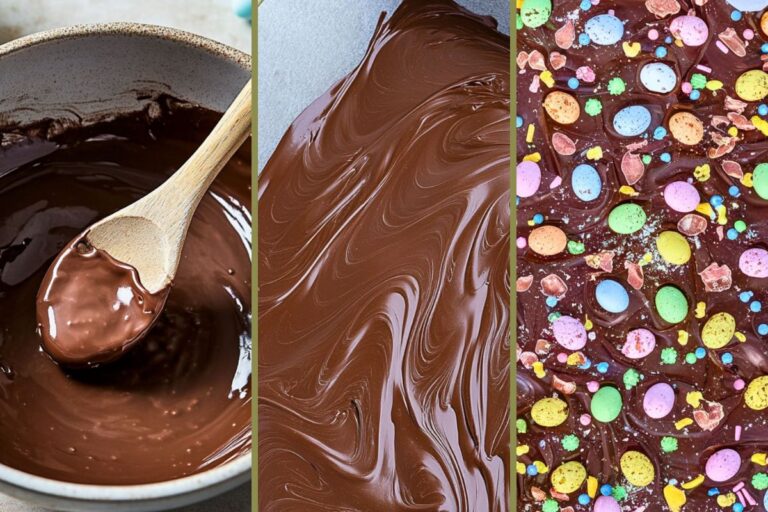
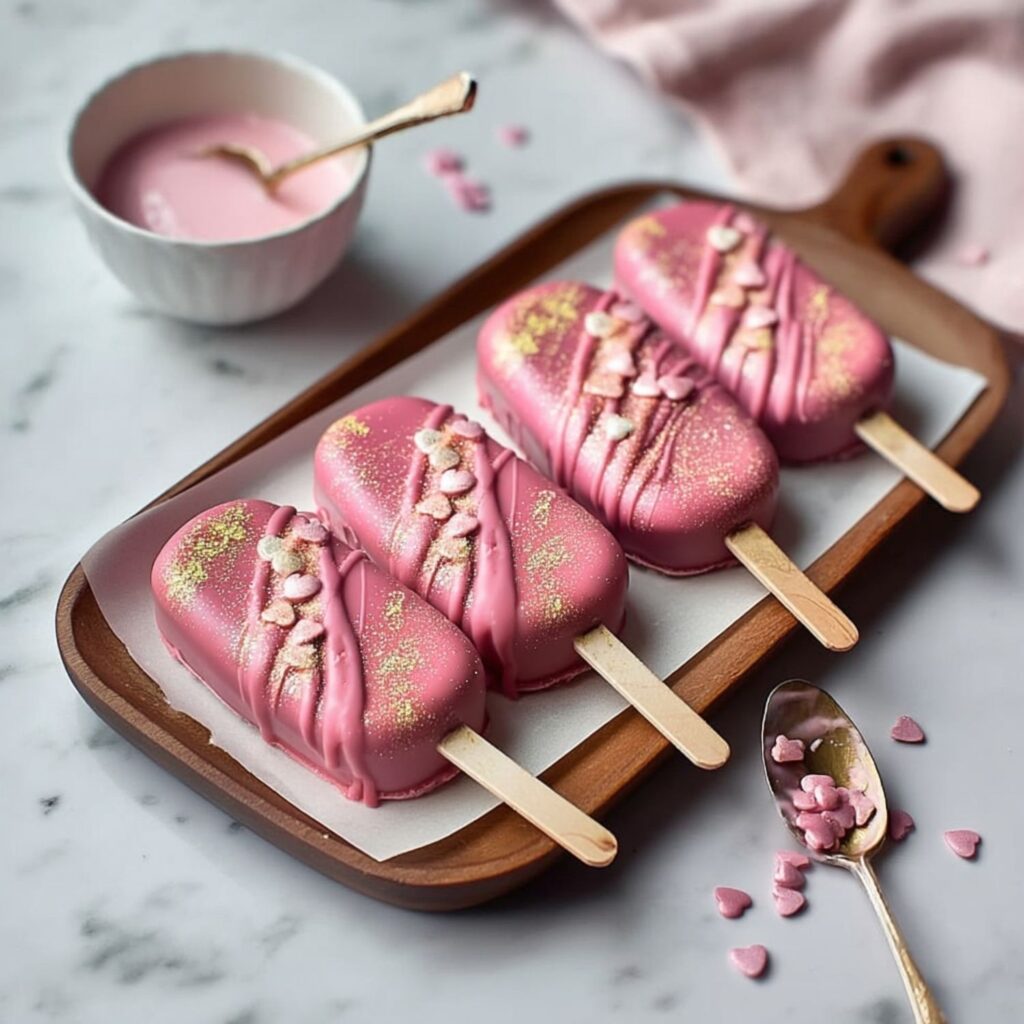
Last year, I tested Mother’s Day cakepop ideas and landed on cakesicles instead. Pink foods, chocolate drizzle, and suddenly, they looked bakery-fancy. They’re dangerously easy to show off.
I pack them as a Mother’s Day treat gift in little Mother’s day treats boxes. Using a silicone cake mold makes homemade cake pops feel almost professional. Mom thinks I planned it for weeks.
Mother’s Day Cakesicles
EQUIPMENT (PAID LINKS)
- Cakesicle mold
- 16 Popsicle sticks
- Sheet pan
- Medium mixing bowl
- Hand mixer or stand mixer
- Microwave-safe bowl
Ingredients
For the Red Velvet Cake
- 1 large egg
- ½ cup buttermilk
- ¾ cup vegetable oil
- 1 teaspoon vanilla extract
- 1 cup granulated sugar
- 1 ¼ cups all-purpose flour
- 1 tablespoon cocoa powder
- 1 teaspoon salt
- ½ teaspoon red gel food coloring
- 1 teaspoon baking soda
- 1 tablespoon white vinegar
For the Cream Cheese Frosting
- ½ cup cream cheese softened
- ⅓ cup unsalted butter softened
- 4 cups powdered sugar
- 1 teaspoon vanilla extract
For Assembly
- 12 ounces candy melts or white chocolate
- 1 ½ cups cream cheese frosting from above batch
- About 9 cups red velvet cake crumbs from baked cake
- Mother’s Day sprinkles
Instructions
- Preheat and Prepare Pan: Preheat oven to 325°F. Line a sheet pan with parchment paper.
- Mix Wet Ingredients: In a large bowl, whisk together egg, buttermilk, oil, and vanilla until smooth.1 large egg, ½ cup buttermilk, ¾ cup vegetable oil, 1 teaspoon vanilla extract
- Add Dry Ingredients: Add sugar, flour, cocoa powder, and salt. Mix until just combined. Stir in red food coloring until evenly distributed.1 cup granulated sugar, 1 ¼ cups all-purpose flour, 1 tablespoon cocoa powder, 1 teaspoon salt, ½ teaspoon red gel food coloring
- Activate Leavening: In a small bowl, combine baking soda and vinegar. Once it fizzes, immediately fold into the batter.1 teaspoon baking soda, 1 tablespoon white vinegar
- Bake Cake: Spread batter evenly in prepared pan. Bake for 20 minutes or until a toothpick inserted in the center comes out clean. Cool completely.
- Make Frosting: Beat cream cheese and butter until smooth. Add powdered sugar and vanilla. Mix slowly at first, then beat 2 to 3 minutes until fluffy.½ cup cream cheese, ⅓ cup unsalted butter, 4 cups powdered sugar, 1 teaspoon vanilla extract
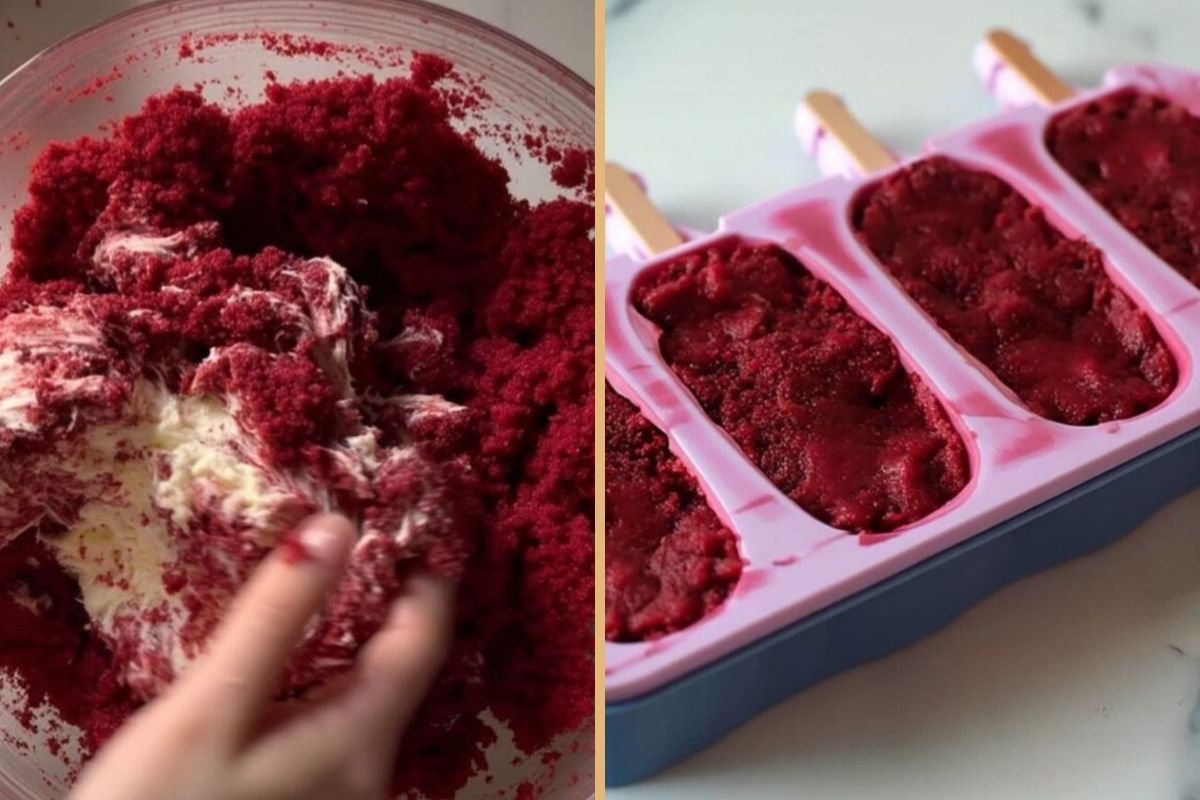
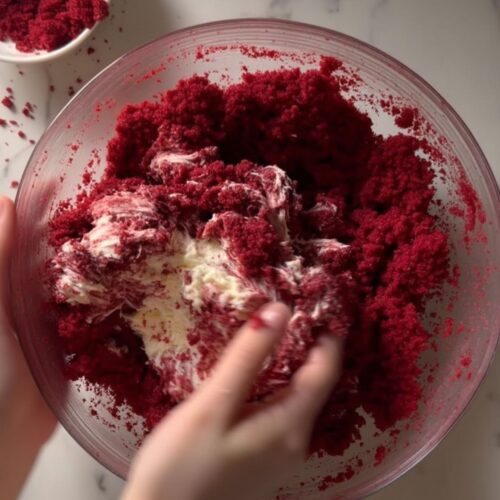
- Create Cake Mixture: Crumble cooled cake into fine crumbs. Measure about 9 cups. Add 1½ cups frosting and mix by hand until the mixture holds its shape when pressed. Adjust slightly if needed.About 9 cups red velvet cake crumbs, 1 ½ cups cream cheese frosting
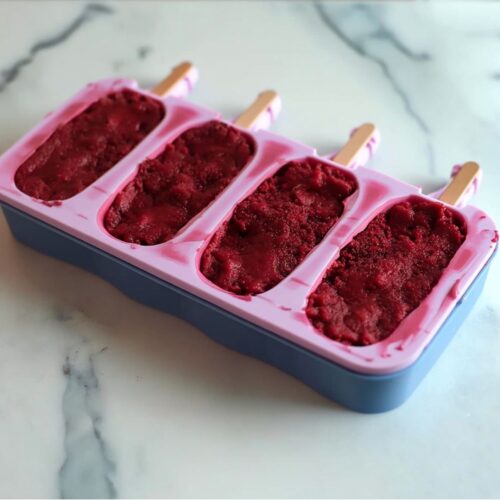
- Coat Mold: Melt candy melts or chocolate in 30-second intervals, stirring between each. Spoon into each mold cavity and push coating up the sides. Invert mold over a bowl to remove excess.12 ounces candy melts or white chocolate
- Insert Sticks and Chill: Insert popsicle sticks while coating is still soft. Refrigerate 5 minutes until set.
- Fill Molds: Press cake mixture firmly into each cavity, making sure to pack it under the stick. Leave a small gap at the top.
- Seal Cakesicles: Rewarm coating if needed. Spread a thin layer over each cavity to seal. Smooth excess. Refrigerate 10 minutes until fully set.
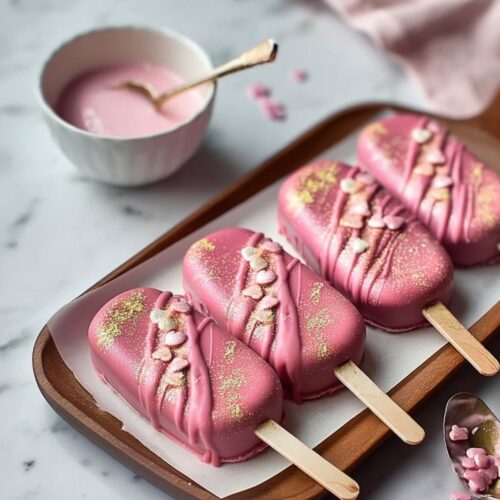
- Unmold and Decorate: Carefully remove from mold. Drizzle additional melted coating and add sprinkles before it sets.Mother’s Day sprinkles
- Storage: Because of the cream cheese frosting, store in an airtight container in the refrigerator up to 5 days. Let sit at room temperature 45–60 minutes before serving for best texture.
Mother’s Day Cakesicles: The No-Crack, No-Stress Survival Guide to Getting That Perfect Snap Every Time
Read this before you melt anything. Trust me, I’ve learned most of this the hard way, so you don’t have to.

Don’t Babysit the Cake
If you slightly overbake the red velvet cake, it’s not a tragedy. It’s actually perfect for crumbs. Dry cake makes better cakesicles than moist cake ever will. You’re mixing it with frosting anyway, so nobody will know, and everyone will think you planned it that way.
The Frosting Ratio Is a Guideline, Not a Law
Start with less frosting than you think you need. You can always add more, but you can’t un-squish a sticky mess. The sweet spot is when it holds together like Play-Doh but doesn’t glue itself to your hands. If it feels like brownie batter, you’ve gone too far.
Thicker Shell, Fewer Tears
When coating the mold, go thicker than you think is necessary. A thin shell will crack the second you look at it wrong. I like to fill the mold all the way, let it sit for 30 seconds, then dump out the excess. Future you will thank present you when nothing splits in half.
Insert the Sticks Immediately
Do not walk away. Do not check your phone. Insert the sticks while the coating is still soft, or you’ll crack the whole thing trying to shove them in later. I’ve done it. It’s not elegant.
Shortcuts Are Allowed
Use a boxed cake. Use store-bought frosting. Use candy melts in a color you don’t have to tint. These are Mother’s Day cakesicles, not a pastry school final exam. Nobody has ever said, “Wow, this tastes homemade in a morally superior way.”
Flavor Swaps That Actually Work
Vanilla cake with strawberry frosting? Great. Chocolate cake with peanut butter frosting? Also great. Even lemon cake with cream cheese frosting works beautifully. Just keep the texture right and the coating thick enough to hold everything together.
Storage Without the Sticky Mess
If you’re refrigerating them, line the container with paper towels and separate layers. Condensation is real, and it will make your pretty shells sweaty. Let them sit out about an hour before serving. Cold cake pops are fine, but room-temperature cakesicles taste way better.
Decorating Without Losing Your Mind
Drizzle first, sprinkles immediately after. Don’t overthink it. A messy chocolate drizzle looks intentional if you move confidently. Commit to the chaos, and people will call it rustic.