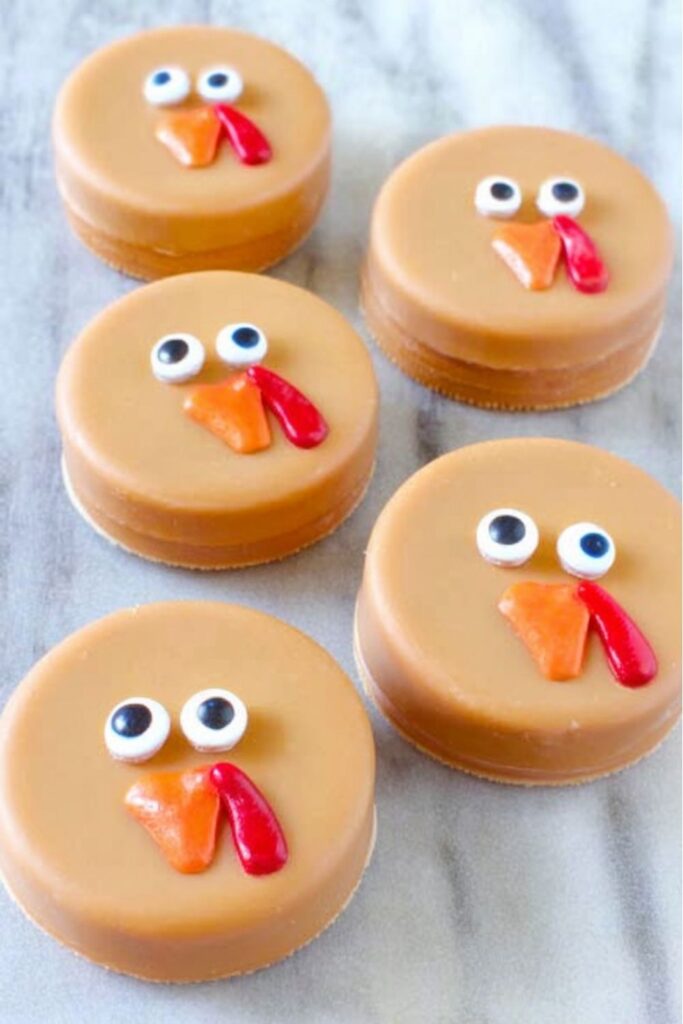
Thanksgiving always needs at least one dessert that’s more fun than fancy. These Thanksgiving Chocolate Covered Treats hit that sweet spot: they’re easy, adorable, and totally snackable.
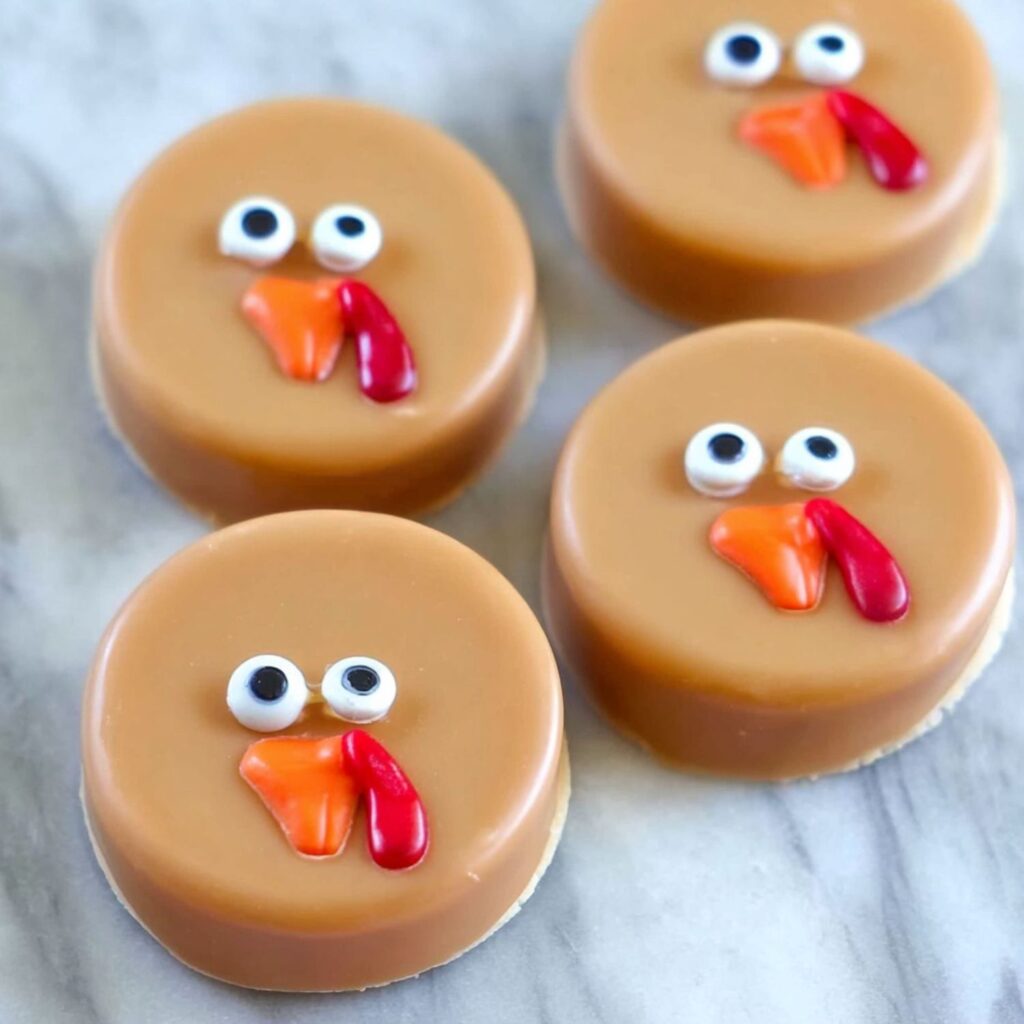
Think Chocolate Covered Oreos Thanksgiving style, dressed up like little turkeys and ready to steal the dessert spotlight.
I made these Thanksgiving Oreo Cookies once “for the kids,” and five minutes later, I was the one decorating with candy eyes and sneaking bites. Turns out, self-control isn’t part of the recipe.
If you’re after quick, cute Thanksgiving Treats that double as Oreo Thanksgiving Treats, these are it. No baking, no stress—just sweet, chocolate-dipped happiness. Because not every Thanksgiving Dessert needs a pie crust to impress.

Thanksgiving Chocolate Covered Oreos
EQUIPMENT (PAID LINKS)
- Microwave-safe bowl
- Oreo mold
- Refrigerator
- Small piping bag or plastic sandwich bag
Ingredients
- 1 ½ cups pumpkin-flavored candy melts or pumpkin-flavored chocolate
- 12 Pumpkin Oreos or regular Oreos if preferred
- 2 tablespoons white candy melts for attaching eyes
- ½ cup red candy melts
- ½ cup orange candy melts
- 24 candy eyes
Instructions
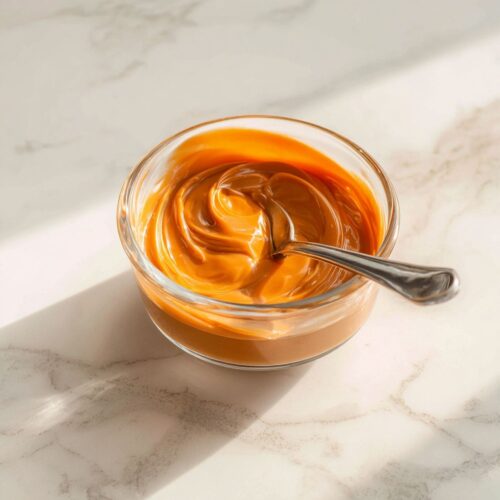
- Melt Pumpkin Chocolate: Place the pumpkin-flavored candy melts in a microwave-safe bowl. Microwave in 30-second intervals, stirring after each, until melted and smooth.
- Fill Molds: Spoon about 1 tablespoon of the melted chocolate into each mold cavity—just enough to cover the bottom.
- Add Oreos: Press one Pumpkin Oreo gently into each mold cavity. Then spoon more melted chocolate on top until the Oreo is fully covered.
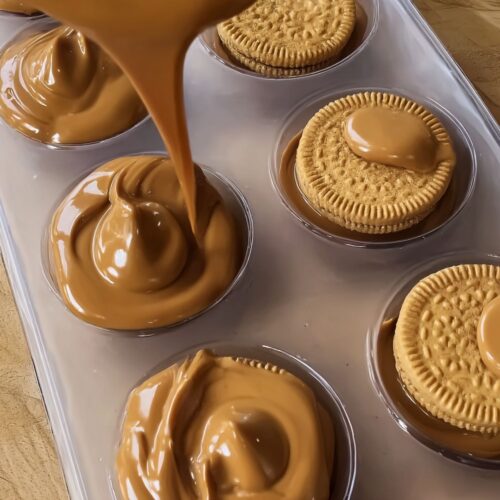
- Tap to Remove Air Bubbles: Lightly tap the mold on the counter to release any trapped air bubbles. This ensures a smooth chocolate finish.
- Chill to Set: Place the mold in the refrigerator for at least 30 minutes, or until the chocolate is completely firm.
- Remove from Mold: Once set, gently pop the chocolate-covered Oreos out of the mold and place them on a flat surface.
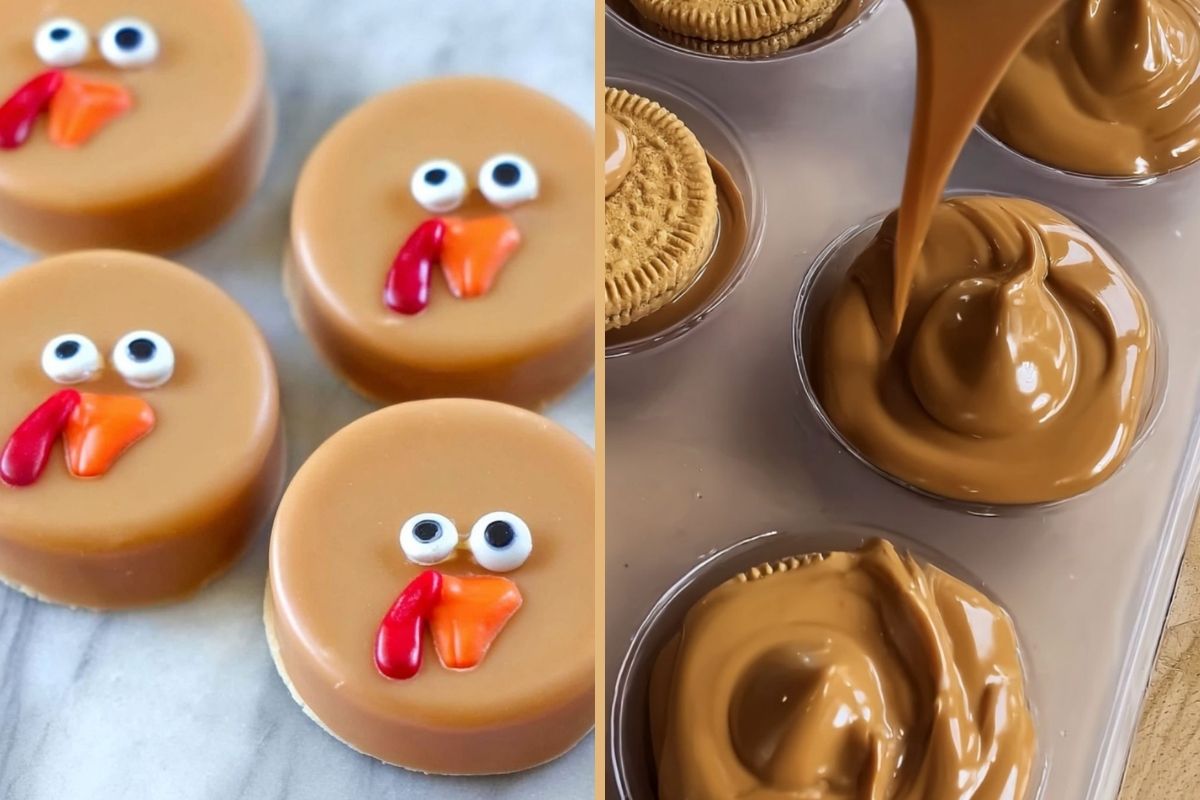
- Attach Eyes: Melt the white candy melts. Use a toothpick or small piping bag to add two small dots on each Oreo, then press a candy eye onto each dot.
- Add Details: Melt the orange candy melts and pipe small triangle beaks under the eyes. Melt the red candy melts and pipe a little squiggle next to each beak for the turkey’s gobbler.
- Set and Serve: Allow decorations to harden completely before serving. Enjoy your adorable Thanksgiving Chocolate Covered Oreos!
How to Fake Being a Dessert Genius with These Thanksgiving Chocolate Covered Oreos
Melt Smarter, Not Harder
We’ve all burned chocolate and pretended it was “caramelized,” right? If your candy melts seize up and look tragic, stir in a little coconut oil or shortening. Nothing says “pro baker” like fixing your own mistakes mid-recipe.
The Great Candy Eye Shortage
No candy eyes? No crisis. Use mini chocolate chips or tiny dots of icing—your Oreo turkeys will still look hilariously adorable. Let’s be honest, the slightly derpy ones always end up everyone’s favorite.
Flavor Swaps for Fun
Not feeling pumpkin-flavored chocolate? Try caramel, white chocolate, or even peanut butter melts. Sprinkle in some cinnamon if you want to fake a “fall flavor.” You’re not auditioning for a cooking show—use what’s in the pantry.
No Mold? No Problem
No fancy Oreo mold? Just dunk them by hand, fork-style. Give them a little tap to smooth the chocolate, then set them on parchment paper. Yes, it’s messy—but so is every great Thanksgiving story.
Decorating Like a Pro (Sort Of)
A plastic sandwich bag makes a perfect DIY piping tool. Snip the corner, and you’re basically a chocolatier. If your gobbler ends up lopsided, don’t fix it—own it. Every turkey deserves a little personality (and a side of chaos).
Storage Secrets
These Thanksgiving Dipped Oreos keep great in an airtight container for up to a week—assuming nobody “taste tests” them all first. Store them in a cool, dry place, not the fridge, or they’ll sweat like you during Thanksgiving cleanup. Consider hiding a few for yourself—you’ve earned it.